I first heard about the Steampunk genre several years ago, and though I can't remember my first introduction to it, I have found the Steampunk aesthetic fascinating. This portrayal of a past-that-never-was conjures up images of worn leather, top hats and monocles, victorian corsets and fans, aged brass buttons, and of course a really cool pair of aviation goggles. There's a certain sense of adventure that goes along with the Steampunk genre: along with its victorian sensibilities, it also depicts a future as H.G. Wells or Jules Verne would have envisioned it. Modern technology like computers are powered by steam, and pirates and explorers rule the skies in their zeppelin-like flying airships.
I suppose it was only natural, therefore, that when I randomly saw "Steampunk Softies: Scientifically Minded Dolls From A Past That Never Was" on Amazon, I just had to go for it. I was immediately intrigued, and also surprised that I had never heard of this book before, considering all the craft blogs I follow (though I suppose it only came out in 2011). This little book is definitely a treasure.
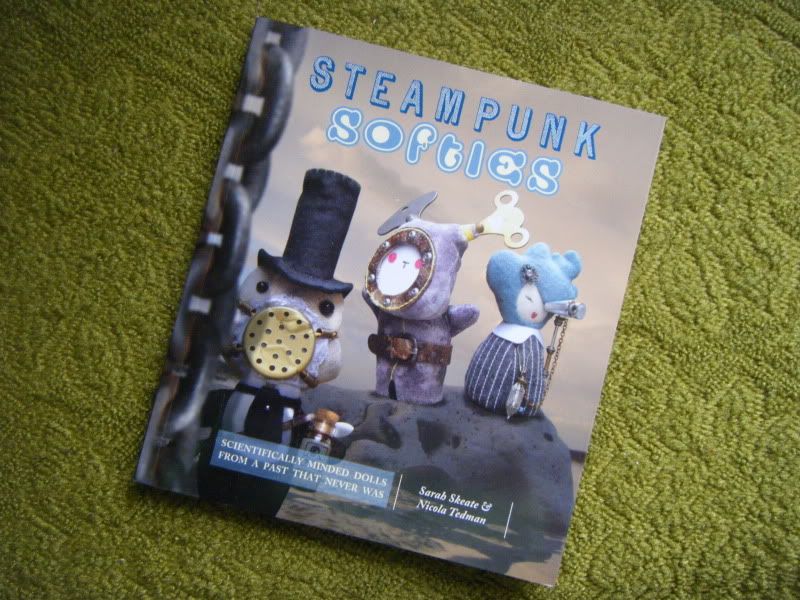
Steampunk Softies features patterns for 8 steampunk characters, each with their own intimidating list of materials. Before you even get started, however, the authors give you tips on cutting out the patterns, gluing, and aging fabrics, and also a reassurance that most of the detail pieces can be found in jewelry or hardware stores.
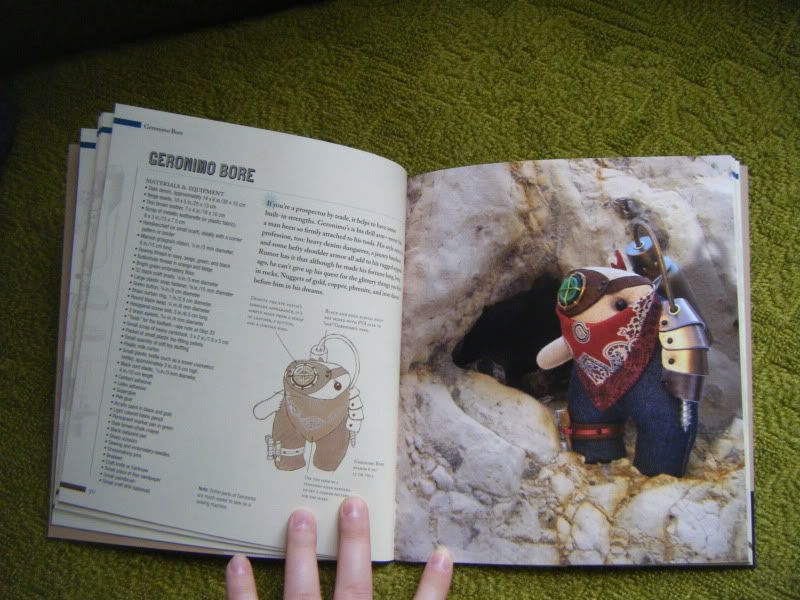
Each character has a little introduction, complete with their name and back story. One of my favourites is Geronimo Bore, pictured above, a prospector with a drill attached directly to his arm and who just can't resist the "glittery things you find in rocks". Though his drill arm and eye patch look complicated, they're constructed with such simple things as a screw, a button, an O-ring and some embroidery floss.
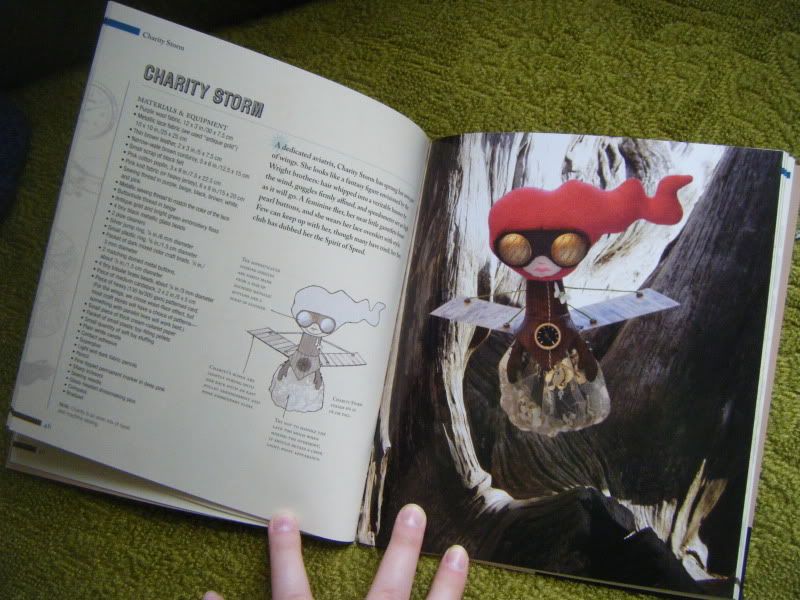
Another one of my favourites is Charity Storm, the dedicated aviatrix with her own set of wings. As with all the patterns, the list of materials is rather extensive (it takes up the whole left-hand column on the first page), but upon closer inspection, it's mostly stuff that most crafty types would have lying around anyway: a scrap of purple wool, a scrap of metallic lace, a couple of domed metal buttons... In addition, each step is illustrated, and a 360-degree view of each character is given. So despite everything, these softies are not as daunting a task to construct as it first appears.
I have yet to make anything from this book, but I'm definitely excited to (yeah, yeah... grad school). I'd probably start with the doctor Ferris Scapula (pictured on the cover in the top hat) because I think I already have most of the materials for him, but I'd love to make any one of these softies! In all, Steampunk Softies is a lovely little book, and definitely a great source of inspiration.
Crochet, knitting, astronomy & life in general.
Thursday, January 26, 2012
Friday, January 20, 2012
The Diatom Shawl
For the first time in my life, I succumbed to buying one of the gorgeous knitting kits that Knit Picks has to offer. Somehow I had always thought that buying knitting kits (unless they're from awesome independent designers like Joanna) were a waste of time and creativity. I mean, if you're going to knit a pattern, shouldn't you have the freedom to choose which yarns you'll use? That's always half the fun for me.
But then... Then, my friends, I discovered the Diatom Shawl. When I first saw it in the Knit Picks catalogue I knew I had to make it, and, as it turns out, the neutral colour palette looked just perfect to me! The incredibly awesome nerdy story behind this shawl also appealed to me. Designer Kerin Dimeler-Laurence explains:
Any lady who uses the phrase "order of magnitude" is ok in my books. To paraphrase, her shawl design is based upon the diatom called the Arachnoidiscus, a cute little unicellular organism that looks something like this:
The resulting shawl is nothing short of gorgeous!
And it's huge! I didn't have enough blocking mats to accommodate its 5-foot diameter, so I used a curtain rod and a cleverly U-shaped blocking mat configuration to block the darn thing.
As Karin says, the knitting of the shawl isn't nearly as hard as it looks. I had trouble in the arrowhead lace section, but only because the pattern became so darn repetitive that I got really bored with it. Also, the fact that it started off with only 7 stitches and grew to 612 stitches by the end didn't help, especially when it took 45 minutes to complete a round near the end. Fortunately, those gorgeous colour changes near the end really helped me make it through the home stretch. The yarn is, of course,Knit Picks Palette, which is a nice solid fingering weight wool. It's lovely, but they gave me way too much of it with the kit, so now I have two and a half balls of the white yarn that I have no idea what to do with... Ah well, I could have worse problems!
Labels:
knitting
Tuesday, January 17, 2012
Ok, I was wrong...
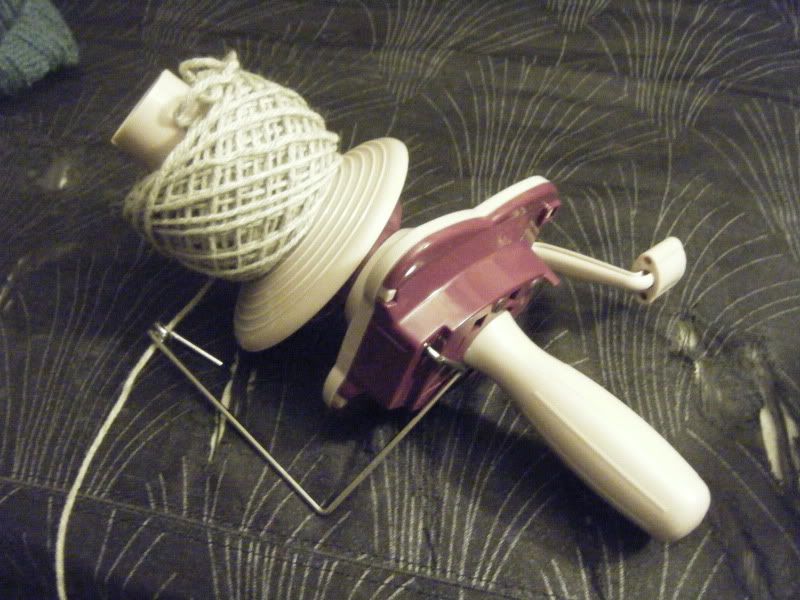
I admit it! Ball winders (in combination with a good swift, of course) are AWESOME! For the longest time, I figured I was good enough at winding balls by hand that I would be just fine without a ball winder... but I was wrong. I mean, I can wind an entire skein of Cascade 220 into a nice little cake in under five minutes!
Let me slow down and backtrack a bit. For X-mas, my lovely mother gave me a Knit Picks ball winder. This one, to be exact:
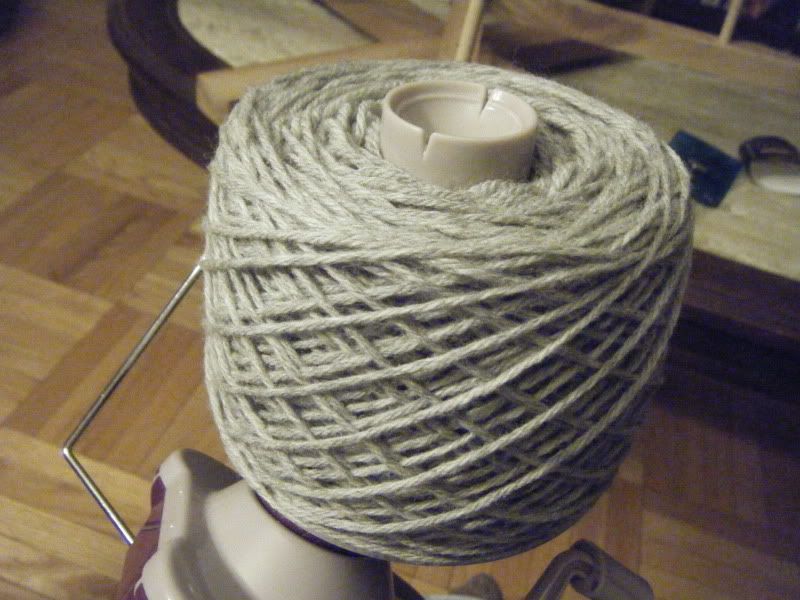
I was a little dubious at first. "Will this really make winding my yarn into balls faster?" I asked myself. And of course, it did. I got this beautiful cake of yarn in just a few minutes:
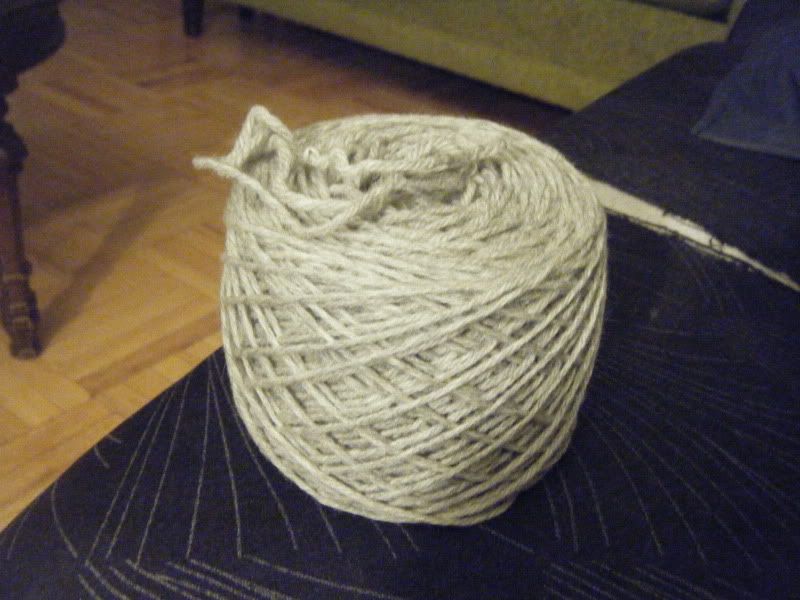
Which is now a lovely centre-pull "ball" (if you can call something cylindrical a ball):
I thought it was so cool, I even made this ridiculous video with my ball winder and swift in action (yes, I'm a super nerd):
Labels:
yarn
Monday, January 16, 2012
Flavour Zen Tastes
The boyfriend has started a new blog! He's calling it Flavour Zen Tastes, and he's using it to write about his explorations in food. He recently acquired the taste for coffee and has been experimenting with adding interesting flavours to this drink with a local coffee shop owner Brian. He's also been writing about the delicious food we get to eat on a regular basis (yes, this is why I'm getting fat), such as this mouth-watering mustard-crusted trout:
You should go check it out!
Friday, January 13, 2012
The Annual X-mas Crafting Review (Part 2)
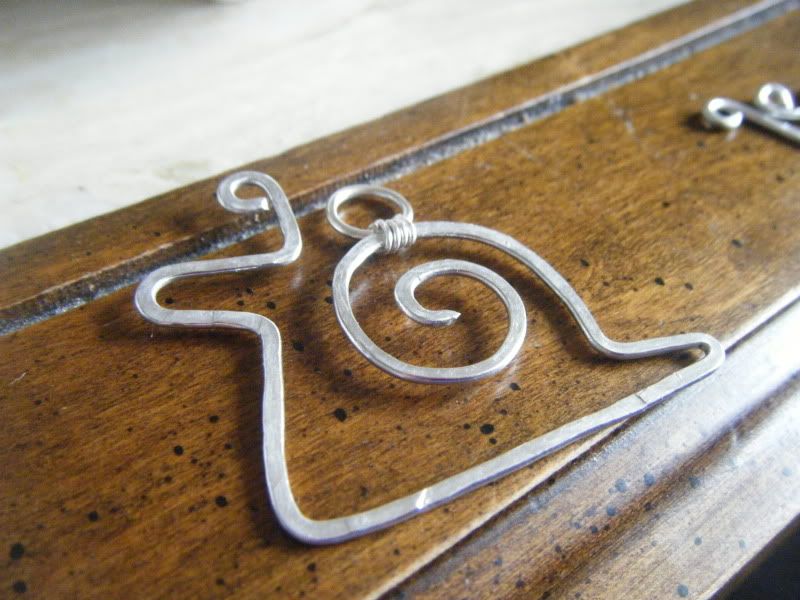
Besides all the X-mas knitting I did this year, I also made a few things out of wire. For my friend Stevie, I made a snail...
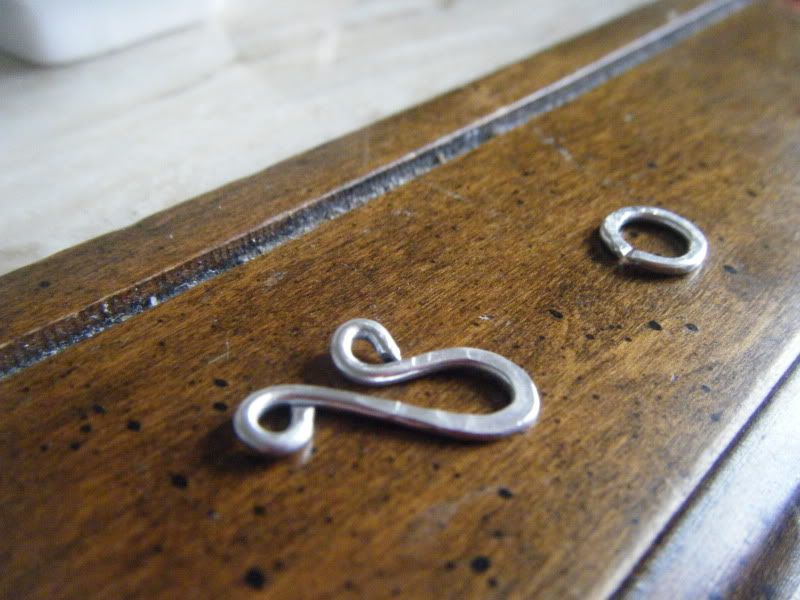
This piece was created by twisting some 1.5mm aluminum wire into shape with pliers and then hammering it into place. I added a jump ring and then put it on a pleather cord (not pictured, unfortunately). This was surprisingly quick to make, and I'm quite happy with the design (which was actually conceived of by the boyfriend). I'd definitely use this design again for earrings or pendants... perhaps even to sell on Etsy eventually? I even made the clasp!
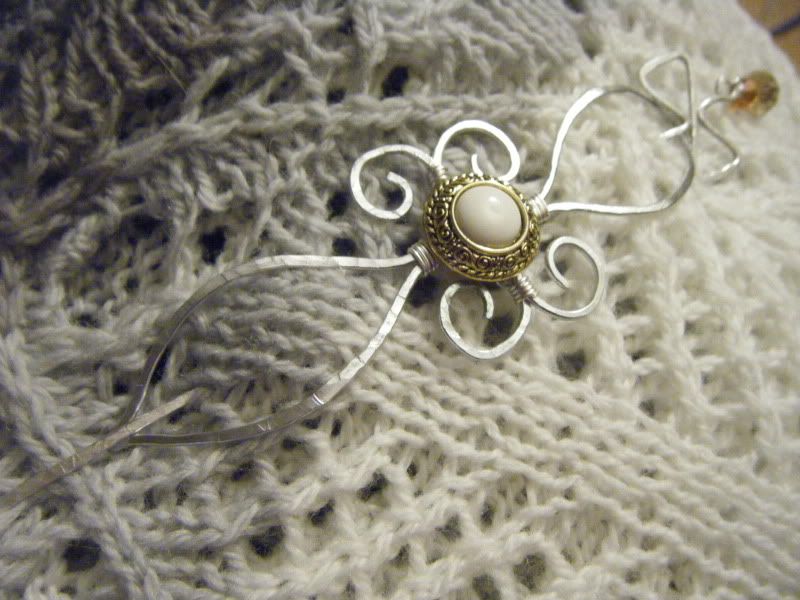
For my Mom, this year, in addition to those pretty knitted cuffs, I made a shawl pin:
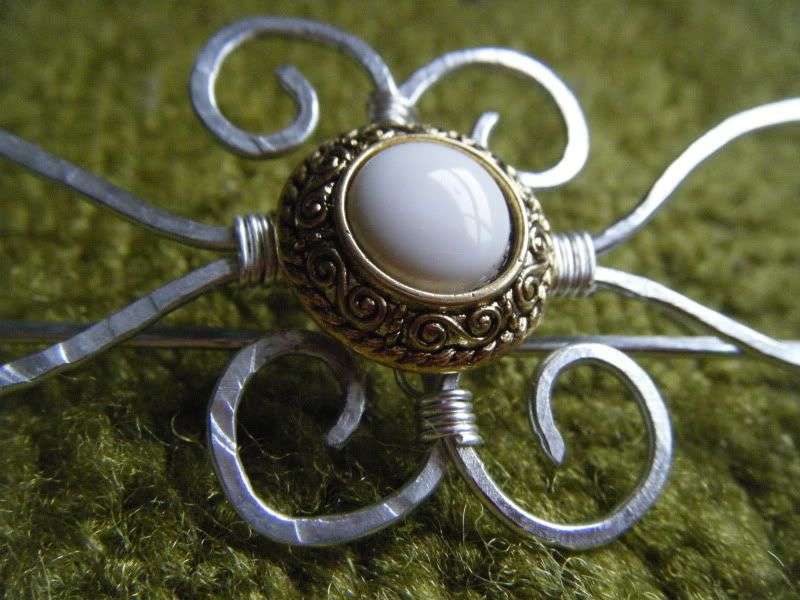
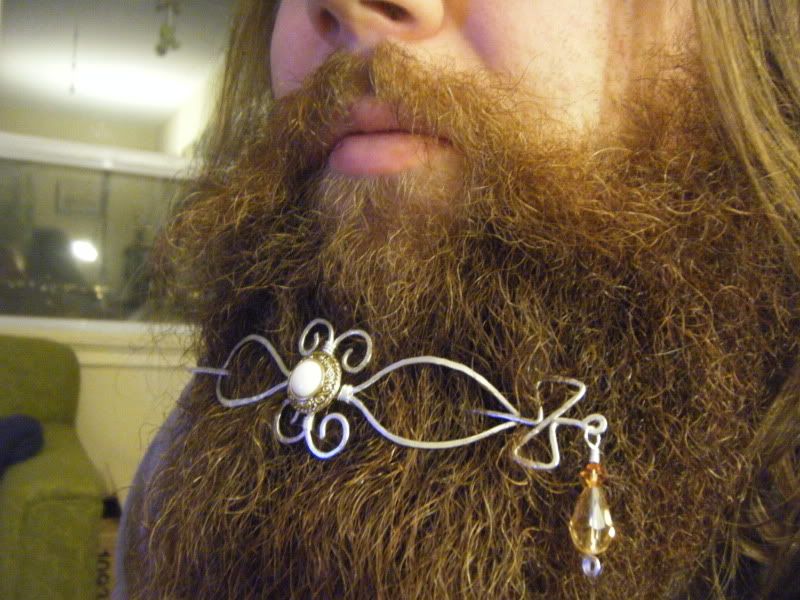
I again used 1.5mm aluminum wire to make the basic shapes, then hammered them into place and attached them together with a thinner silvery wire (not sure of the material). My favourite detail is the vintage button attached in the centre there. I had been planning on putting a bead or something, but then inspiration hit and it just seemed to fit perfectly. It's one of the vintage buttons I picked up at the Creativ Festival this year.
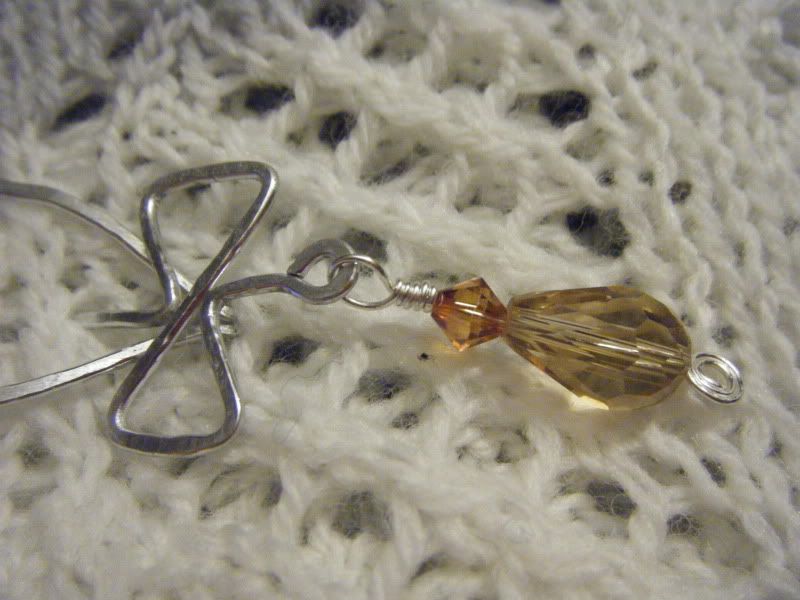
I'm also a huge fan of the dangly bit at the end of the pin part. I used a Swarovski crystal and a teardrop-shaped glass crystal bead.
And of course the boyfriend insisted on showing off my work in the setting of his epic beard:
Labels:
beading
Subscribe to:
Posts (Atom)